How to fit pedals
Here’s a quick guide on how to fit pedals to your bicycle but first up let’s help you identify which is the left and right one. Left pedals have a left hand thread, ie they tighten up counter-clockwise. This is really important to remember when fitting them. Left hand pedals are often marked with a ‘L’ somewhere on the axle or may be splined to help identify them. Right hand pedals may be marked with an ‘R’ or have a plain, un-splined axle.
How to Fit Pedals to Your Bicycle
1. Prepare your Tools
Before you begin, make sure you have the following tools:
- Pedals (left and right)
- Pedal wrench or 15mm spanner or allen keys depending on what the pedals need
- Grease
- Rag or paper towel
- Optional: Anti-seize compound

2. Remove the Old Pedals
- Left Pedal: From the left hand side of your bike, fit your pedal tool and turn it clockwise (or towards the back of the bike) to remove it.
- Right Pedal: From the right hand side of your bike, fit your pedal tool and turn it counter- clockwise (or towards the back of the bike) to remove it.
3. Prepare the Threads
- Clean Threads: Wipe the pedal threads and crank arms with a rag or paper towel. Sometimes a light spray like WD-40 or GT85 can help here.
- Apply Grease: Apply a thin layer of grease to the pedal threads. This prevents corrosion and makes future removal much easier.
Further Reading
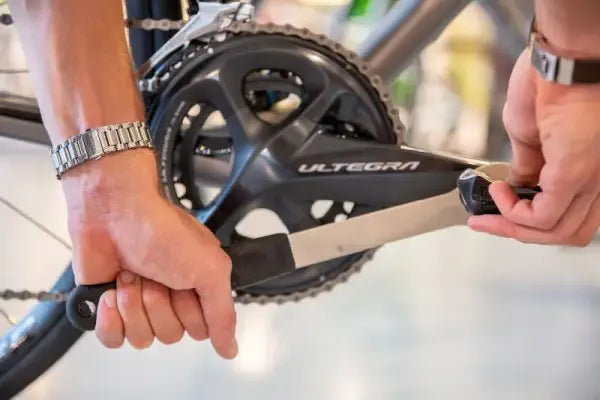
4. Fit the New Pedals
- Left Pedal: From the left hand side of your bike, screw your pedal into the crank arm by hand a few turns counter-clockwise. This helps ensure they are fitted square and correct reducing the risk of cross-threading. Fit your pedal tool and turn it counter-clockwise (or pedal the crank arm backwards while holding the tool) until it’s tight then nip it up.
- Right Pedal: From the right hand side of your bike, screw your pedal into the crank arm by hand a few turns clockwise. Fit your pedal tool and turn it clockwise (or pedal the crank arm backwards while holding the tool) until it’s tight then nip it up.
Use a torque wrench to tighten to the correct torque where possible.
NOTE: Some cranks may require pedal washers to be fitted over the pedal threads
7. Optional: Apply Anti-Seize Compound
If you live in a humid or salty environment, consider applying anti-seize compound to the pedal threads. This prevents seizing and corrosion.
8. Test the Pedals
Take a short ride to ensure the pedals are securely attached and functioning properly.
Remember to periodically check and tighten your pedals to maintain safety and performance. Happy cycling! 🚴♂️🚴♀️